
Vercel powers more than 4 million websites. This includes those run by well known companies like Netflix. Additionally, Netlify is used by over 300,000 websites in the USA alone. Additionally, more than 90% of startup organizations favor AWS when it comes to app deployment.
As a result, React deployment is much simpler than before. Developers may host their applications with little setup and take advantage of integrated capabilities like serverless functions, thanks to platforms like these.
We’ll walk you through each step of distributing your app to these platforms in the following guide. You will learn how to launch your React app, regardless of your level of development expertise.
How to Prepare Your React App for Deployment?
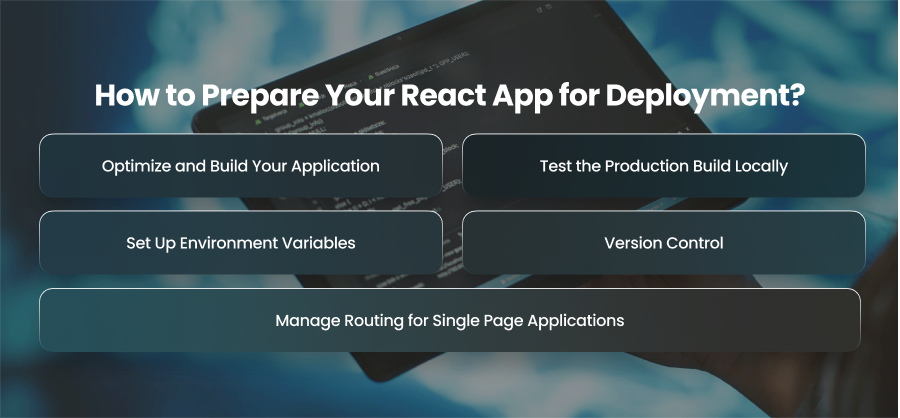
Optimize and Build Your Application
When working locally, React runs in development mode. Debugging tools and comprehensive error messages, which are helpful in development but might cause performance issues in production, are included in this mode.
Therefore, you must develop a production build in order to prepare your app for deployment. This build procedure produces an optimized version of your application, featuring compressed JavaScript files. This build will also be deployed to your hosting platform.
A new subdirectory called build is generated in your project directory when the build process is completed. Additionally, it has all the components your hosting company needs to effectively deliver your React application. The assets are hashed for caching, and the build is minified to eliminate extraneous characters.
Test the Production Build Locally
Test your production build locally before deploying to find any potential issues. In development mode, the program could function flawlessly. But in production, problems like incorrect API endpoints might arise.
Therefore, by using a lightweight local server to distribute the contents of your build folder, you may replicate a production environment on your local PC. In this manner, you may see just how your clients will utilize it.
During this testing stage, you should confirm that all of your routes are operating as intended. Further ensure that no links are broken. Additionally, watch the browser console for any warnings. Make sure the endpoints refer to the appropriate production URLs if your project makes use of APIs.
Set Up Environment Variables
Most React applications require external services, such as APIs or third party integrations. Furthermore, you should never hardcode sensitive credentials or keys into your project because these services frequently need them. For security concerns, these values ought to be kept in environment variables instead.
To conceal environment variables from your source code, you can specify them in a different file inside your project. For instance, if your application needs to connect to the backend API, you might want to save the base URL in an environment variable instead of entering it into your code.
Environment variables beginning with a certain prefix are recognized by React apps. Once defined, you may access these variables from anywhere in your code to get the values you require.
Platforms like AWS Amplify let you control these environment variables directly from their dashboards during deployment. Hence, this means your credentials stay secure and can easily be updated without modifying your code.
Manage Routing for Single Page Applications
Single page apps that leverage client side routing are frequently created with React. This suggests that the browser moves between pages without requesting new ones from the server. This setup may cause problems after deployment if the server cannot support routes other than the root URL.
For instance, the server can return an error if a user navigates directly to a nested route. This is because it cannot find the actual file associated with that path. To fix the problem, you need to configure your hosting platform to redirect all incoming requests to your primary HTML file.
This makes it possible for React Router to internally display the relevant component. Platforms like Vercel manage this automatically. However, on Netlify, you can create a small redirects configuration file to handle it manually.
Version Control
Before deploying your application, it is essential to manage your code using a version control system such as Git. Also, most modern hosting services support git based workflows. Hence, this means you can connect your GitHub repository to the hosting platform. This allows it to automatically fetch your latest code whenever you make changes.
Moreover, keeping your repository clean and well organized is equally important. You should exclude unnecessary files, such as dependencies and environment files, by listing them in a Git ignore file.
How to Deploy React Apps to Different Cloud Platforms?
Vercel
Vercel automatically handles tasks like building and globally distributing your app through a high performance content delivery network. Furthermore, its Git based workflow allows you to deploy directly from your repository. This makes the process increadibly efficient.
Set Up Your Project on Vercel
To begin deploying on Vercel, ensure your React project is already build and available in a Git repository.
You should first use your Git account to log into your Vercel account. Establish a new project after logging in. Vercel will automatically identify your repositories and present you with a range of options. Choose the repository where your React application is located.
Configuring Environment Variables
If your React application depends on external services, you will need to set environment variables before deployment. Go to your project’s settings section in Vercel to locate the Environment Variables tab.
Here, you can add key value pairs for your variables and specify whether they apply to development or production environments. Hence, this helps ensure that your sensitive credentials stay secure.
Deploy Your Application
You can launch your program after you’ve checked your setup. Vercel will create your project and clone your repository automatically.
The platform provides real time logs so you can monitor the build process. Once complete, you will receive a live URL for your deployed site. Also, Vercel automatically generates a custom domain for you. But you may also use your dashboard to link your own custom domain.
Every time you push changes to the associated Git branch, Vercel will start an automatic deployment. Without needing any work, our continuous deployment procedure guarantees that your software remains current.
Post Deployment Management
Vercel provides you with comprehensive performance metrics for your app after deployment. Additionally, you may interact with technologies like GitHub Actions. The platform also supports serverless functions if your React apps needs lightweight backend logic.
Netlify

Netlify is especially popular for hosting static and JAMstack applications. Delivering safe React apps is made simple with Netlify’s worldwide CDN delivery and custom domains.
Deployment on Netlify
You should ensure your React app is built and stored in a Git repository before deploying. Also, Netlify supports direct integration with GitLab.
Once you sign in to your Netlify account, you should add new sites and select Import an Existing Project. Choose your Git provider and grant access to your repositories.
After selecting your React project, Netlify will automatically detect the correct build settings. Additionally, it often sets the publish directory to build and the build command to npm run build. You can alter these factors if your project requires other naming conventions.
Configure Build Settings
Next, you should review your build settings in the Netlify dashboard. You can include environment variables in the Site Settings if your React application relies on them.
You may safely store the tokens that your application needs here. Additionally, Netlify will integrate these settings into your build process when it’s time for deployment.
Drag and drop deployments are also supported by Netlify. This implies that you may publish it immediately by just dragging and dropping your local build folder onto the Netlify dashboard.
Managing Redirects
Refreshing a page may display an error if your React app employs client side routing with React Router. This is resolved by Netlify with a straightforward setup. You may make a file named _redirects within your directory with a single line instructing the server to reroute all routes to your main HTML file.
AWS
Small React apps and business web apps may both benefit from Amazon Web Services’ extensive selection of cloud hosting choices.
AWS Amplify is the most straightforward method for deploying React apps on AWS. From a single dashboard, Amplify provides custom domains.
Set Up AWS Amplify
Go to AWS Amplify on your AWS Management Console after logging in. The next step is to link Amplify to your GitHub account.
After connecting, choose the repository and branch that contains your React project. Amplify pre fills the build parameters and recognizes React as your framework automatically.
Add Environment Variables
Amplify allows you to explicitly declare environment variables before to deployment, much like Vercel does. Under the Environment Variables tab in the project Settings section, add the variables your React project requires, such as API URLs.
Deploy Your React Application
Click Save and Deploy when everything is set up. Your React app will be automatically built and deployed by AWS Amplify. The Amplify interface, which offers thorough records at each stage of the procedure, allows you to keep an eye on the development.
Amplify gives you a live URL for your application following a successful deployment. Additionally, you may set up HTTPS with a single click and link your own custom domain.
Manage Hosting
With AWS Amplify, you can combine your React frontend with powerful backend services like AWS Lambda.
For React developers that wish to create full stack React apps within the same cloud ecosystem, this makes it an excellent option. Additionally, AWS Cognito authentication is supported by Amplify. As a result, implementing secure login systems without extra settings is made simple.
Best Practices for Deploying React Apps
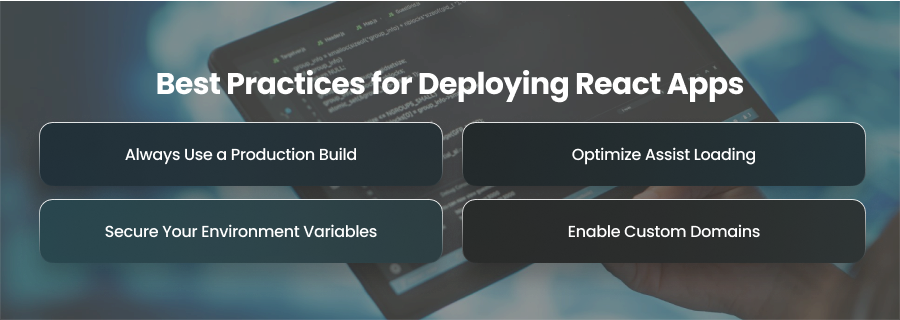
Always Use a Production Build
React applications perform differently in development and production modes. The development build includes debugging tools and unoptimized scripts that are helpful while coding but can drastically slow down performance in production.
So, before deployment, always generate a production build of your React app. This process compresses files and removes unnecessary development code. A production build ensures your users experience a smooth and stable application while reducing bandwidth consumption.
Optimize Assist Loading
Performance optimization directy affect user experience and engagement. Thus, spend some time optimizing your React app’s handling of assets like photos prior to launch.
To reduce file sizes without sacrificing quality, use optimized JPEGs or compressed pictures like WebP. Additionally, use slow loading to ensure that components load only when required.
Use code splitting and dynamic imports as well to load only the components of your application that are needed when needed. Performance is enhanced by this, particularly for bigger React apps.
Secure Your Environment Variables
Security is a primary concern when installing apps. This is especially true for apps that connect to external authentication systems. One of the most common mistakes developers make is hardcoding API keys directly into the source code.
Instead, sensitive data should always be stored in environment variables. Modern hosting platforms provide secure dashboards where you can define and manage these variables.
Enable Custom Domains
Make sure your React apps are always deployed over HTTPS rather than HTTP. Additionally, HTTPS encrypts user server conversations to prevent data from being intercepted.
Moreover, instead of utilizing your hosting service’s default subdomain for your deployed app, think about using a custom domain. A custom domain enhances branding and search engine presence in addition to giving your website a more polished appearance.
Final Words
Effective React app deployment guarantees that users will see them right away. Regardless of the platform you choose, it is crucial to plan ahead. By following deployment best practices, developers may produce React apps that function properly in every situation.