
Being a user, would you prefer browsing a site with boring looks? Like a site with a flat, static, and lifeless interface with no sliders, no carousels, and no interactive elements, just looking like a Word file? Surely not!
The internet users today are modern and expect dynamic and compelling websites with a rich visual experience. Especially when you are working with React, which is the 2nd most popular web application framework, you need to explore tools and libraries that assist in developing interactive and responsive websites.
In this article, we will discuss the best React carousel component, i.e., React Slick. It is like a slider that adds depth and professionalism to your site effortlessly. However, you can get the most out of React Slick by hiring React developers with expertise in elevating the user experience for React applications.
So, let’s start!
What is a Carousel Component?
It is a graphical element in the user interface that allows multiple pieces of content, commonly images, text, videos, or cards, in a visually appealing and interactive manner. With a carousel implemented on a web page, users can easily navigate through the content. It operates typically by buttons or indicators, mimicking the motion of a traditional carousel.
Carousels are commonly seen on:
- E-commerce platforms for displaying featured products.
- Landing pages for showcasing client testimonials.
- Travel websites to show popular visiting destinations
- Blog sites to highlight popular, featured, or recent articles.
Why Carousel is A Popular Graphical Element in UI Design

Carousels play a strategic role in UI design. Other than for decorative purposes, they are implemented on web pages for the following reasons:
Content Presentation
Firstly, a carousel allows you to display several objects without taking up much screen space or requiring never-ending scrolling.
User Engagement
Secondly, the carousel elevates the interaction rate of users with the website. It may appear as autoplay slides, arrow clicks, or swipes. Consequently, it increases the user engagement rate and lengthens the session.
Storytelling
With the carousel in place, you have a chance to build visual narratives. You can either show your product benefits or showcase top blog posts or whatever your site is about; a carousel makes the user journey more impactful and interactive.
Responsive Design
Lastly, it doesn’t matter that you want a carousel for various devices or screen sizes; a carousel adapts seamlessly to screen size. This makes a carousel an ideal graphical unit for both desktop and mobile devices.
How Carousel Serves in React Applications
Despite React being the most popular library of JavaScript library, it doesn’t have any built-in UI elements such as Carousel. To close this gap, there are several third-party libraries available. Therefore, to add a carousel to React apps, developers require third-party frameworks.
A carousel in a React application is used for:
- Product listing sections
- Sliders on homepages
- Image galleries
- Feature walkthroughs
- Dynamic content displays
Pro tip: Always choose a pre-made carousel that may be customized. It guarantees a consistent user experience while saving you development time.
Let’s Meet React Slick!
React Slick is a popular React library that wraps the Slick carousel library to provide a simple and efficient way to create sliders and carousels in React applications. Originally built with jQuery, Slick brings the best features to build modern React applications without requiring jQuery.
React Slick empowers developers to implement sliders anywhere they want with minimal configuration and maximum flexibility.
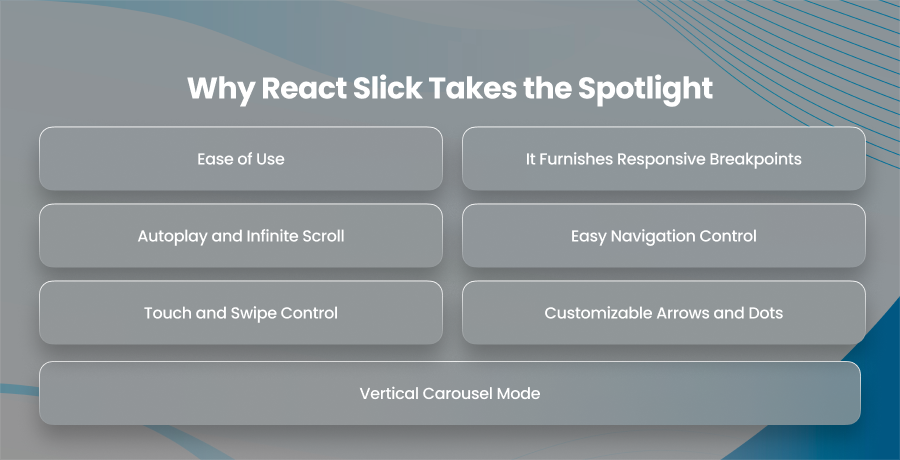
Why React Slick Takes the Spotlight
Let’s go through the irresistible features of React Slick that make it a standout library for including carousels in React applications.
Ease of Use
Firstly, you don’t have to worry about configuring and implementing React Slick. Developers can easily set up a carousel by defining the count of slides required. Moreover, you have the freedom to decide whether there will be an auto-play or not. Other than this, you have full customization liberty to enjoy.
It Furnishes Responsive Breakpoints
Secondly, the design of a carousel prioritizes responsive behavior by ensuring a consistent user experience across platforms. It is done by enabling the carousel to automatically display a varying number of items on desktop, tablet, and mobile screens.
Autoplay and Infinite Scroll
React Slick supports autoplay. It allows the carousel to slide automatically at defined intervals. Moreover, it also follows infinite scrolling. This means that the user won’t see the end of the carousel as it loops back to the beginning after displaying all items.
Easy Navigation Control
Moreover, it completely gives control of carousel navigation into the user’s hands. A user can navigate through the carousel using arrows, navigation dots, or swipe gestures. Furthermore, these controls are entirely customizable, allowing developers to align their design with the website.
Touch and Swipe Control
Keeping in view the influx of mobile users, React Slick is optimized for smartphones and tablets. On such devices, users can swipe left and right to browse through the content of the carousel easily.
Customizable Arrows and Dots
Plus, in React Slick, you have the opportunity to customize the default navigation arrows and dots with your custom components. This gives you a great branding opportunity for your business.
Vertical Carousel Mode
Lastly, you can go out of the box by implementing a vertical carousel on your React application. React Slick supports vertical carousels, too.
Getting Started with React Slick
Let’s walk through the process of installing React Slick and other functionalities that help you on the way to having a carousel on your site.
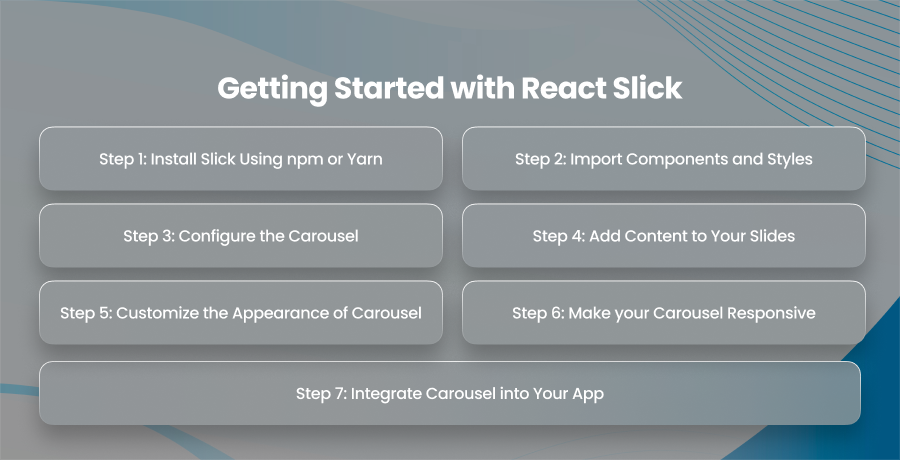
Step 1: Install Slick Using npm or Yarn
To begin with, you need to install React Slick and Slick Carousel CSS files. For this, you need to open the terminal and run the following commands:
npm install react-slick slick-carousel
For Yarn
yarn add react-slick slick-carousel
Step 2: Import Components and Styles
After installation, import the remaining components and styles that will work during the whole process. In this step, you will need to import the slider component and two CSS files with all the default styles that will make the carousel functional and visually appealing.
Code:
import Slider from ‘react-slick’;
import ‘slick-carousel/slick/slick.css’;
import ‘slick-carousel/slick/slick-theme.css’;
Step 3: Configure the Carousel
React Slick comes with various configuration options that allow developers to decide the number of sliders, loop strategy, and much more.
To create a configuration object, run the following code:
Code:
const settings = {
dots: true, // Shows small indicators (dots) below the carousel
infinite: true, // Enables infinite loop
speed: 500, // Controls transition speed (ms)
slidesToShow: 3, // Number of slides shown at once
slidesToScroll: 1, // Slides to move per scroll
autoplay: true, // Enables automatic slide scrolling
autoplaySpeed: 2000 // Time before each auto scroll (ms)
};
Later, these settings are passed to the <Slider> component to apply the behavior.
Step 4: Add Content to Your Slides
Now it’s time to add content to your slides. It can be text, image, video, card, or a testimonial. To make you understand better, here is a simple example with three image slides:
Code:
<Slider {…settings}>
<div>
<img src=”image1.jpg” alt=”Slide 1″ />
</div>
<div>
<img src=”image2.jpg” alt=”Slide 2″ />
</div>
<div>
<img src=”image3.jpg” alt=”Slide 3″ />
</div>
</Slider>
Other than images, you have the freedom to add any sort of additional content, such as titles, buttons, or descriptions.
Step 5: Customize the Appearance of Carousel
The default styles in the React Slick carousel are basic, which can be enhanced using CSS or a CSS-in-JS library like styled-components or Emotion. It will enable you to:
- Add padding or borders to slides
- Tailor the navigation dots or arrows according to the website design
- Alter the background
- Make the carousel according to your branding theme
Step 6: Make your Carousel Responsive
Responsiveness holds a sheer importance in software development. React Slick automatically adapts to varying screen sizes, so you don’t have to worry about responsiveness while working with React Slick.
Moreover, you can define custom breakpoints to change how many slides are shown on different screen sizes.
Here’s the code to do this:
Code:
const settings = {
dots: true,
infinite: true,
speed: 500,
slidesToShow: 3,
slidesToScroll: 1,
responsive: [
{
breakpoint: 1024,
settings: { slidesToShow: 2 }
},
{
breakpoint: 600,
settings: { slidesToShow: 1 }
}
]
};
Step 7: Integrate Carousel into Your App
After creating your carousel component according to your needs, it’s time to use it anywhere in your application.
For example, you created a Carousel.js component, and you can include it in your App.js following the given method:
Code:
import Carousel from ‘./Carousel’;
function App() {
return (
<div>
<h1>Welcome to Our Website</h1>
<Carousel />
</div>
);
}
Limitations and Considerations in Implementing React Slick

Nothing’s flawless, especially man-made things. Hence, there are certain limitations of React Slick that you must know.
The Bundle Size of React Slick is not Small
React Slick is not the lightest library available in terms of bundle size. If you need a lightweight library, you must compare choices. Eventually, you will find a library with a smaller bundle size.
It Depends on the CSS
React Slick depends on the CSS of the original Slick carousel. Although it is customizable, complete customization takes you to work extensively hard to fit your brand identity.
Limited Animation Options
Lastly, the built-in animation options might not be suitable or enough for you if you are looking for complex transitions or animations.
Best Practices to Use React Slick
To get the most out of a React Slick, here are some pro tips:
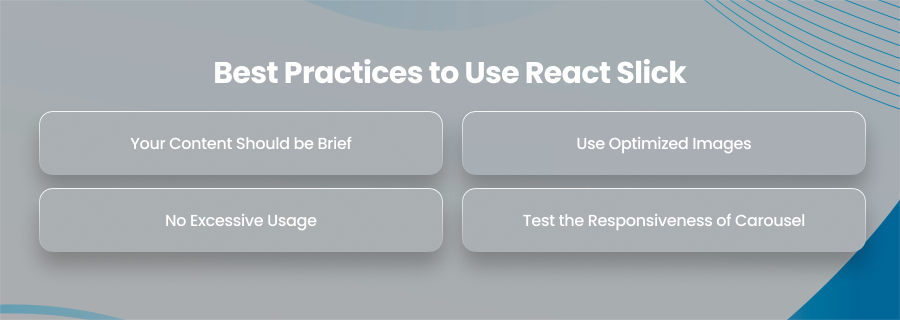
Your Content Should be Brief
Don’t include excessive information on your slides. Each slide must have a clear, concise message to maintain user interest.
Use Optimized Images
Always use optimized images on the carousel. Before uploading images, compress them. Doing so will enhance the page load speed, especially on mobile devices.
No Excessive Usage
This might seem absurd, but the excessive usage of a carousel can impact the performance. There’s no doubt that carousels are useful, but too many sliders on one page slow down the performance of the application. Hence, it is advised to use the React Slick carousel strategically.
Test the Responsiveness of Carousel
Lastly, you must ensure that your carousel works properly on all screen sizes. For this, you should use real devices and screen emulators to ensure the carousel’s proper behavior.
Why React Developers Prefer React Slick
React developers prefer React Slick due to its simplicity and high functionality. Developers won’t have to sweat over building a carousel from scratch. Instead, they use the React Slick library to include a carousel on the web pages where required.
React Slick provides a production-ready solution capable of serving many areas, including:
- Product-driven applications
- Marketing websites
- Admin dashboards
- Online portfolios
- Educational platforms
However, if you have some complex requirements and want customizations with carousel, it is better to hire React developers with specialization in building customized carousels using React Slick. The experience of React developers will ensure that the custom carousel blends perfectly into your project’s architecture and visual identity.
Summary
Since the React Slick carousel is a powerful tool for dynamic and responsive content display, our readers would have realized that it is an essential component of contemporary React application development. To make your website responsive and user-friendly, you should employ a carousel on your pages, regardless of whether you are creating an enterprise-level application or a startup landing page.