
React is an amazing frontend framework. To put this statement into perspective, out of one million websites with the most traffic in the world, over 150,000 use React. This is because user interfaces are becoming more complex and dynamic. Furthermore, React developers now face challenges of managing components that need to break free from the constraints of the traditional DOM hierarchy. This is true especially when it comes to elements like models and popups.
So, this is where React Portals step in as a powerful solution. React renders elements within a specific DOM tree. However, there are instances when rendering a component outside its parent node becomes necessary.
So, in this guide, we will discuss React Portals. Moreover, we will examine how to use React Portals and explore their best practices.
What are React Portals?

Every component in a React application renders into a single root DOM node. Typically, your HTML file defines a root with an ID similar to root. The vast majority of interfaces also work well with this specification.
React Portals provide a way to render a component’s children into a separate region of the React DOM that is outside the hierarchy of the parent component. They allow you to maintain a logical component structure in your code while physically rendering parts of your UI elsewhere in the tree.
The Portal API uses the function ReactDOM.createPortal(child, container). Moreover, if you have a modal or tooltip that needs to appear on top of everything else. Therefore, using a portal lets you render it into a dedicated DOM node outside of your main application structure.
Additionally, despite being rendered outside the DOM tree, the portalized component still behaves as though it’s part of its React component. Moreover, this means it can access React state and context just like any other component. Hence, this makes portals powerful for building dynamic and stateful UI elements without compromising app architecture.
Why Should You Use React Portals?
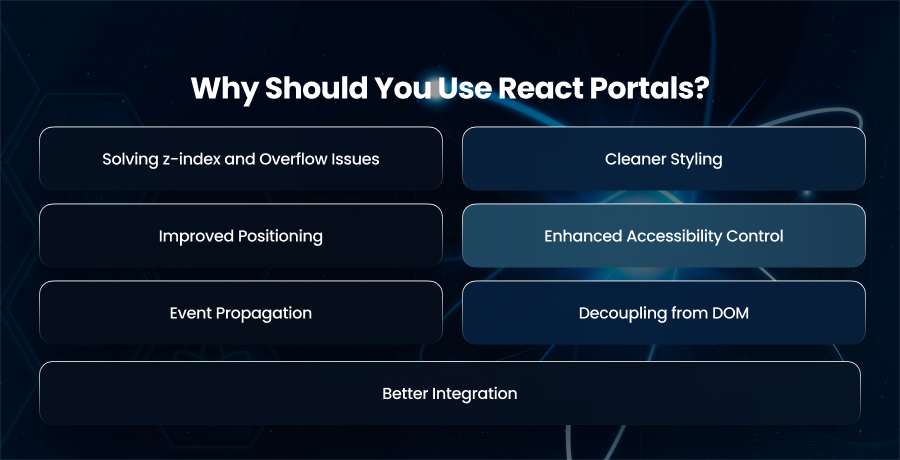
Solving z-index and Overflow Issues
Certain elements must be shown above other items in complicated interfaces. However, visibility and stacking context problems may arise if these components are extensively nested inside containers that have overflow: hidden or position: relative. Also, even setting a high z-index might not help if the component is constrained by its parent’s layout rules.
So, React Portals allow you to render these components directly into a top level DOM node. This can help you avoid layout restrictions and ensure that they appear exactly where they should.
Cleaner Styling
Deeply nested components frequently inherit CSS rules from their parent containers. Unwanted side effects, including extra padding and font sizes, may result from this. You may have additional control over the look without requiring significant CSS modifications by using portals to separate these items from their parent design.
Improved Positioning
Elements like popovers and floating menus often need to be positioned relative to other components. Doing this reliably within a nested DOM structure is challenging, especially when the layout changes dynamically. Also, Portals help you break free from those constraints, allowing you to place these components where you have more control over positioning and alignment, often near the end of the body tag, where global positioning styles are easy to apply.
Enhanced Accessibility Control
A straightforward and predictable DOM structure facilitates the implementation of accessibility features like attention management and screen reader compatibility. Furthermore, managing aria-hidden properties on background elements is simple when components such as modals are presented inside a gateway.
Event Propagation
Despite being rendered outside of their parent DOM tree, portal components continue to maintain their position in the React component hierarchy. This implies that even if the element is displayed elsewhere in the DOM, event propagation still occurs and rises through the React tree, exactly like it does with conventional components. As a result, handling keyboard input and clicks without coding bespoke logic is made simple.
Decoupling from DOM
One of the best aspects of React Portals is that they decouple visual placement from logical structure. In other words, you can maintain clean and reusable component logic while rendering most elements in the most visually appropriate place in the DOM. Hence, this separation of concerns improves maintainability, especially in large codebases where layout constraints and visual placement often conflict with component reusability.
Better Integration
Sometimes, third party UI libraries or frameworks expect certain DOM elements to be direct children of the body tag or another specific node. Moreover, using a portal allows you to comply with those expectations without restructuring your React component tree, making integration smoother and less error prone.
How to Set Up React Portal?
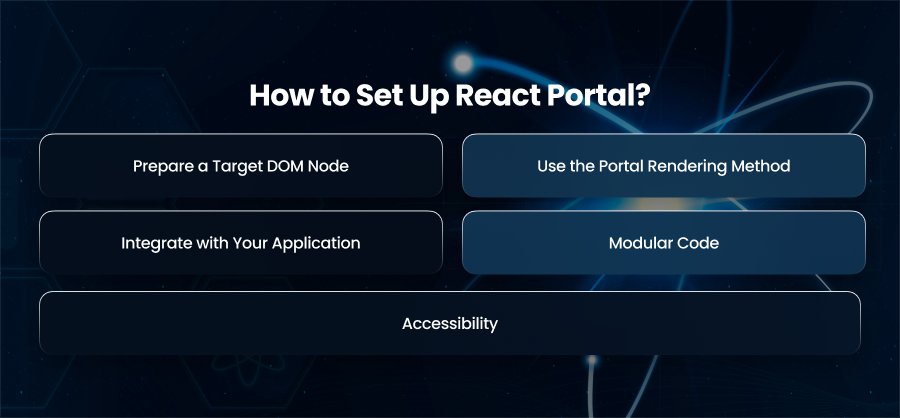
Prepare a Target DOM Node
A location in your HTML file where the gateway will render its material is the first need. In order to use a portal, you must establish a secondary container outside of the primary one, which is often where you place your whole React application. You can think of this container can as a specific area where you can place portal elements, such as tooltips or modals.
You can place this container at the same level in the document as your main app root. But it can technically exist anywhere in the DOM. The key is to ensure that you don’t nest it within other components that might apply restrictive styles like overflow.
Use the Portal Rendering Method
The next step is to instruct React to render certain components into the distinct DOM container that you have created. The visual output will therefore show elsewhere in the DOM, but the structure and writing of the component itself remain unchanged.
Integrate with Your Application
After setting up the container and rendering your content into it, the portal becomes just like any other component in your app. Props can be sent to it, and it can even respond to keyboard inputs and clicks from users.
The advantage of this configuration is that the portal functions as a child of the component in which it was declared, despite being presented in a separate area of the DOM. This implies that it has access to everything, including event handlers, conditional rendering logic, Redux stores, and context information.
Modular Code
When dealing with portals, it’s a good idea to abstract the logic of the gateway into reusable parts. For instance, you may design a specific part for models that accepts kids and manages the portal configuration in house. This approach makes your code cleaner and easier to scale across larger projects.
Accessibility
Managing lifecycle events and attention control is crucial when developing components that use portals. If your gateway is for an opening and closing modal, for instance, you should make sure that it deletes itself from the DOM after it’s finished.
Use Cases of React Portals
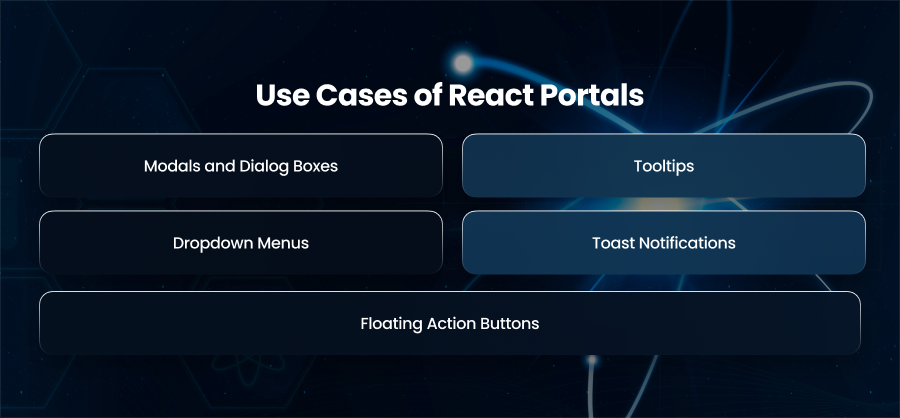
Modals and Dialog Boxes
Modals are one of the most common use cases for React Portals. Moreover, a modal typically overlays the entire screen and demands user interaction.
Additionally, when you nest modals deeply, these modals can face problems with positioning and overflow clipping. For example, a modal placed within a scrollable or hidden container can get partially cut off or not appear at all. Also, by rendering modals into a portal that is outside the main application structure, you can ensure that they sit at the top of the DOM. Hence, this can free you from styling limitations.
Tooltips
Small text bubbles known as tooltips show up when a user hovers over an element. Popovers are more interactive versions that might include buttons or additional information. Moreover, both of these UI elements need precise placement near their triggering elements and often require absolute positioning.
It can be challenging to render popovers inside a standard component hierarchy, particularly when working with overflow settings or nested layouts. These items can be rendered at the top level of the DOM using React Portals. Hence, this enables accurate positioning and eliminates interfaces from parent styles.
Dropdown Menus
Dropdowns are essential in navigation menus and filters, but they can be hard to manage within complex layouts. Furthermore, they often need to overlap with other content and remain visible even when parent elements scroll or change state.
No matter where the parent component is situated, using a gateway guarantees that the dropdown will always be accessible and properly formatted. It makes event handling and z-index management easier, which improves user experience.
Toast Notifications
Toast notifications are brief messages that appear temporarily to inform users of a system event, like successful form submission or error messages. The layout of the component that triggered them shouldn’t limit these, which are often positioned in a permanent position.
To ensure that toasts show consistently and stack appropriately regardless of the rest of the page structure, React Portals let you render them into a dedicated and consistent section of the DOM, frequently a global notification container.
Floating Action Buttons
Progressive web applications and mobile apps frequently have floating action buttons. Important actions, such as adding a new item or launching a settings panel, are triggered by these buttons when they hover over other information.
Floating action buttons are designed to be positioned independently from the rest of the page count. Therefore, you can use a portal to render them outside the typical layout and make it easier to control their positioning and responsiveness.
Tips for Effectively Using React Portals
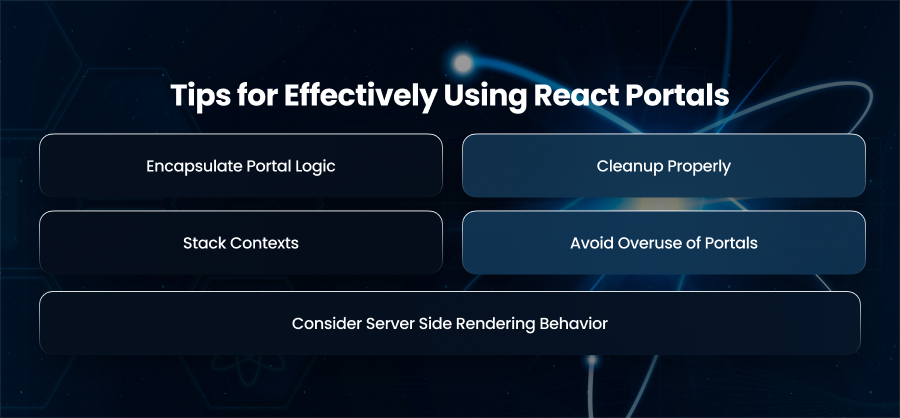
Encapsulate Portal Logic
Create reusable components that contain portal logic rather than managing the setup manually each time. A unique component, for instance, can manage the portal generation internally and only show the developer the pertinent properties.
Your code is easier to read and maintain thanks to this abstraction. Additionally, it centralizes the reasoning for accessibility and mounting. Additionally, it lessens the possibility of introducing defects in various areas of your program.
Cleanup Properly
Portals often come with side effects like global event listeners and scroll locks. Furthermore, these effects can cause performance problems or faulty user interface states if you don’t properly clean up after the portal you unmount it.
Therefore, when the component unmounts, you should make sure that any listeners or DOM modifications that the portal introduced are appropriately deleted. You can use hooks like useEffect to control lifecycle behavior and guarantee a clean teardown.
Stack Contexts
You can place portals anywhere on the page because you can display them outside of the standard DOM flow, but this flexibility comes with a duty to properly manage the z-index.
As a result, you should ensure that your portal container is properly designed and does not clash with any other parts. When you have multiple layers of models, you should maintain a consistent system for z-index values to avoid rendering issues.
Avoid Overuse of Portals
Not every floating UI element needs to be rendered through a portal. Overusing them can clutter your DOM structure and introduce unnecessary complexity. Also, you should use portals when you need to escape layout constraints like overflow: hidden or stacking context issues. Furthermore, you can use the element to overlay or float outside its natural parent. Additionally, you can use portals when you require better positioning or global styling not feasible in the component tree.
Consider Server Side Rendering Behavior
If your application uses server side rendering, then you should be cautious with portals. On the server, there is no DOM, which means portal target nodes do not exist. Trying to access these too early can cause errors or hydration mismatches. Hence, to avoid this, make sure portals are rendered only on the client side. Moreover, you can use conditional rendering techniques or environment checks to ensure your portals behave correctly across both server and client environments.
Final Words
React Portal offers a flexible solution for rendering components outside the traditional DOM hierarchy. Moreover, this makes them ideal for modals and overlays. Also, by following best practices like ensuring accessibility and avoiding overuse, you can utilize the full potential of portals while maintaining clean and user friendly React applications.