
NestJS is an open-source progressive Node.js framework that has received significant traction relatively quickly. As a result of its features and minimal code, NestJS has been designed for scalability, maintainability as well as testing.
It tries to adopt the best of OOP, FP, and more specifically FRP paradigms altogether. In many ways, NestJS provides a good Command Line Interface (CLI), which is easy to use and helps to lessen the efforts made when it comes to creating or maintaining applications.
In this article, we will explain what NestJS CLI is, why you should use it, and give you some practical tips and tricks to follow when using it effectively.
What is CLI?
CLI is a command-line text-based interface that creates an interaction with software or applications. It is not like Graphical User Interfaces (GUIs), where users can click buttons to perform actions. In CLI, the user is required to type commands to achieve the same results.
CLI is very essential for NestJS developers as it allows them to speed up the development process, automation, and control over tasks. In NestJS, the CLI helps in automating repetitive tasks, generating files, and setting up the components, which significantly reduces the need for manual coding.
What is NestJS CLI?

NestJS CLI is an efficient tool that simplifies the development process of NestJS applications. Using the CLI in NestJS, developers can generate essential files and boilerplate code which makes project management easier from start to finish.
Commands like nest new, nest generate, and nest build, CLI easily creates modules, controllers, services, etc. Another advantage of CLI is it saves time and enforces best practices by generating code that follows the conventions and architecture of NestJS.
Tips and Tricks for Efficient Development with NestJS CLI
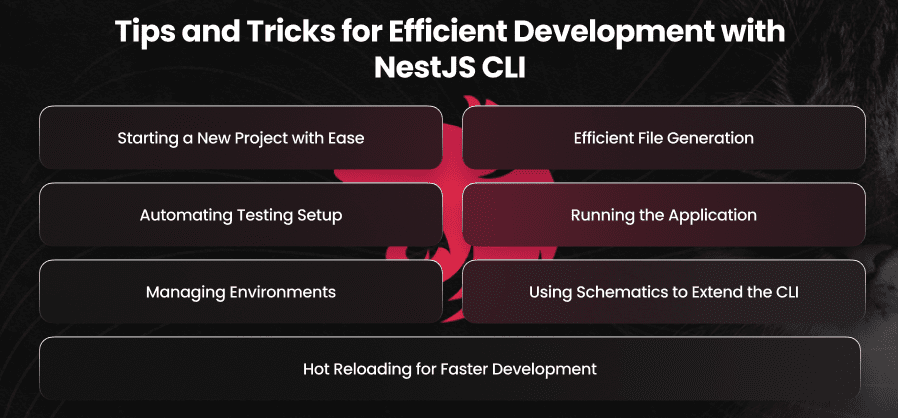
Now that we have learned the basics of What CLI is and its role in NestJS, let’s move to the tips and tricks that one must follow for efficient development with NestJS CLI.
Starting a New Project with Ease
One of the first things you’ll do with the NestJS CLI is create a new project. Instead of manually setting up folders, files, and dependencies, the CLI takes care of everything with the command.
The command to create a new project is: nest new <project-name>
This initializes a complete NestJS project with the necessary structure and dependencies, allowing you to jump straight into development without worrying about setup.
You can even select a package manager (npm, yarn, or pnpm) right from the CLI, which ensures consistency and simplifies dependency management.
Efficient File Generation
NestJS encourages modular architecture, which means dividing your application into different modules for better scalability and maintainability. The CLI allows you to generate these modules, as well as controllers, services, and other components with ease.
Moreover, using generation commands helps maintain consistency across your application while reducing human error. It also automatically wires up the necessary imports, making your development process quicker.
Automating Testing Setup
Writing unit tests is an essential part of software development, and the NestJS CLI makes this easier by generating spec files automatically for each component. When a developer generates a controller or a service, the CLI also generates a corresponding .spec.ts file; which is a testing. File.
This feature makes testing easier and motivates developers to follow the Test-Driven-Development (TDD) strategy.
Running the Application
Running a NestJS application via CLI is very straightforward. Just type “npm run start” and your application will run.
However, besides running your application, other options in CLI provide you the authority over how you run your application. Suppose you want to start the application for development purposes, you can use “npm run start:dev” and your application will run in the development mode. It watches changes in the code and automatically restarts the server when there is any change.
Managing Environments
In every application, there are some environments like development, staging, production, etc. For efficient development, one has to manage these environments effectively as they are very crucial for the application.
With NestJS CLI, you can manage environments simply by managing different configurations. For instance, if you want to run your application in production mode, use the following command:
Npm run start:prod
Using this command in CLI ensures that your application runs in the production environment using the optimized settings for better performance and less logging.
Using Schematics to Extend the CLI
Another advanced feature developers get by using NestJS CLI is the ability to use schematics. Schematics come into play when there is a need to automate any custom task in your project. Plus, it allows you to create your own task to generate boilerplate code for specific use cases.
If you frequently create a particular type of module, for instance, you can build a custom schematic to handle this for you.
Schematics provide a layer of customization that makes the NestJS CLI even more powerful. By leveraging them, you can tailor the CLI to fit the specific needs of your project, further optimizing your workflow.
Hot Reloading for Faster Development
Another handy trick is to take advantage of hot reloading by using the CLI’s built-in watch mode. This feature continuously watches for file changes and automatically reloads the application without requiring manual intervention. To enable this, simply run your project in development mode using the below command:
npm run start:dev
This significantly speeds up the feedback loop during development and allows for quicker testing of changes.
In the End
NestJS CLI is a powerful tool that has been of great help especially when working with NestJS. Whether the project is big or small, CLI comes in handy when it alleviates the burden of repetitive processes and applies optimal processes in development. Following the above guidelines can help harness the NestJS CLI to optimize the NestJS project performance and productivity.